Prepare the camera
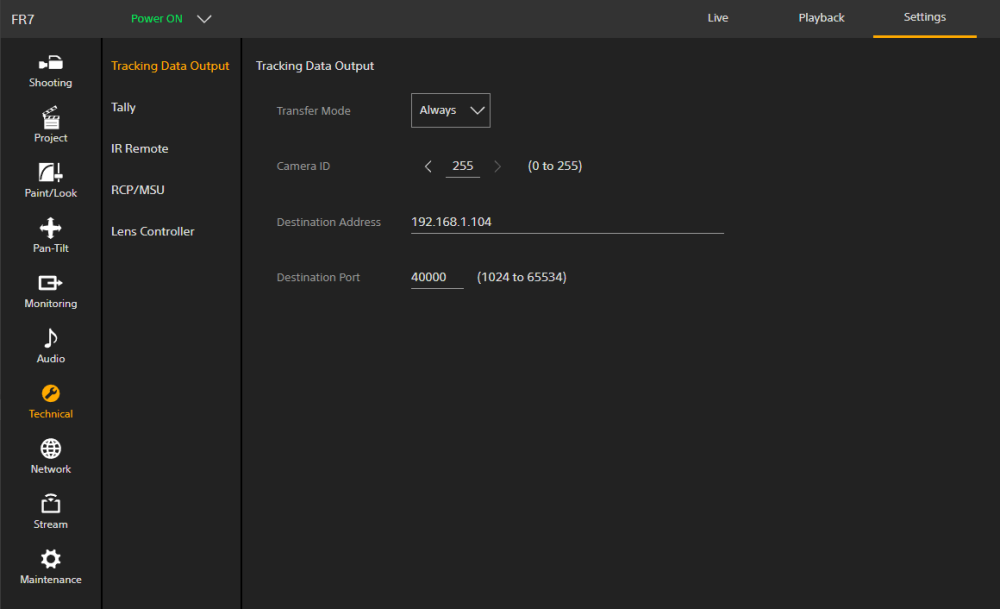
First the freeD feedback output needs to be activated
![]()
Make sure, that this values are matching with the SP settings:
- Camera ID
- Destination IP
- Destination Port
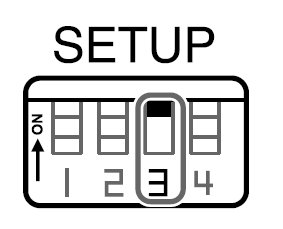
Enable Visca for the FR7
![]()
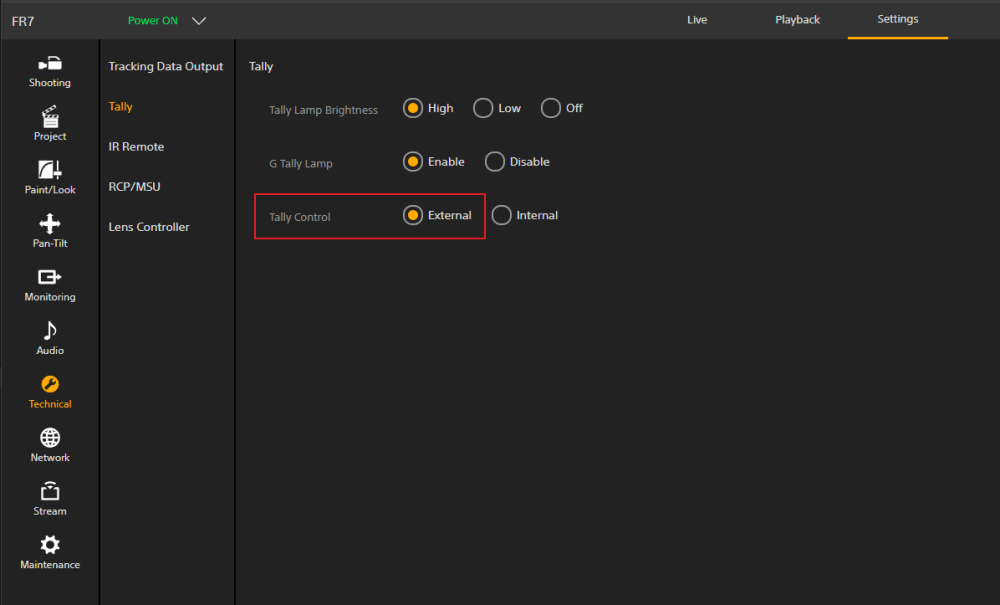
Enable Tally over Visca
![]()
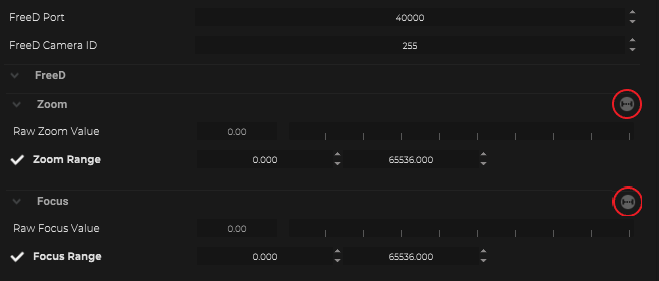
Range the Zoom and Focus values
!In case that the FR7 has switchable lenses, it´s necessary to range the freeD values !
![]()
Within the connection settings go to the FreeD settings.
Click on the zoom range icon and zoom fully in and out at least 3 times.
Make sure that you really go to the minimum and maximum.
Press the “Enter” key when this is done and repeat the step with focus.
!If clear image zoom is enabled, it´s not possible to drive the Zoom in Manual mode!
Setup the FR7
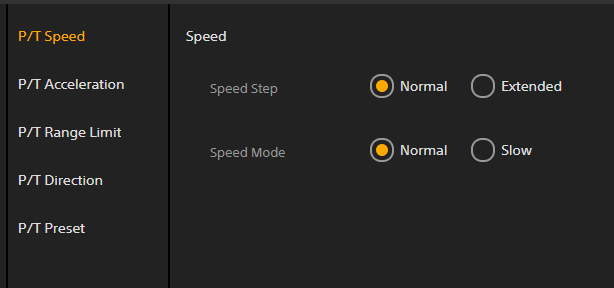
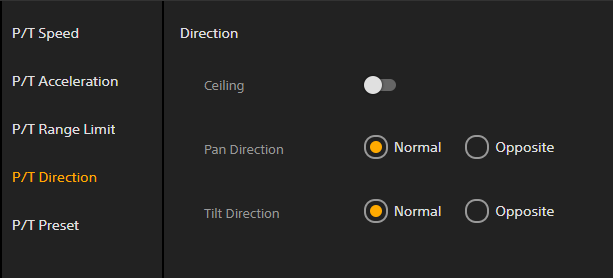
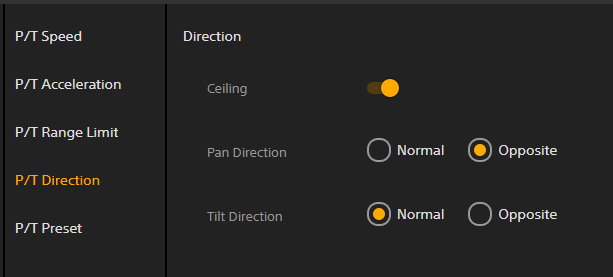
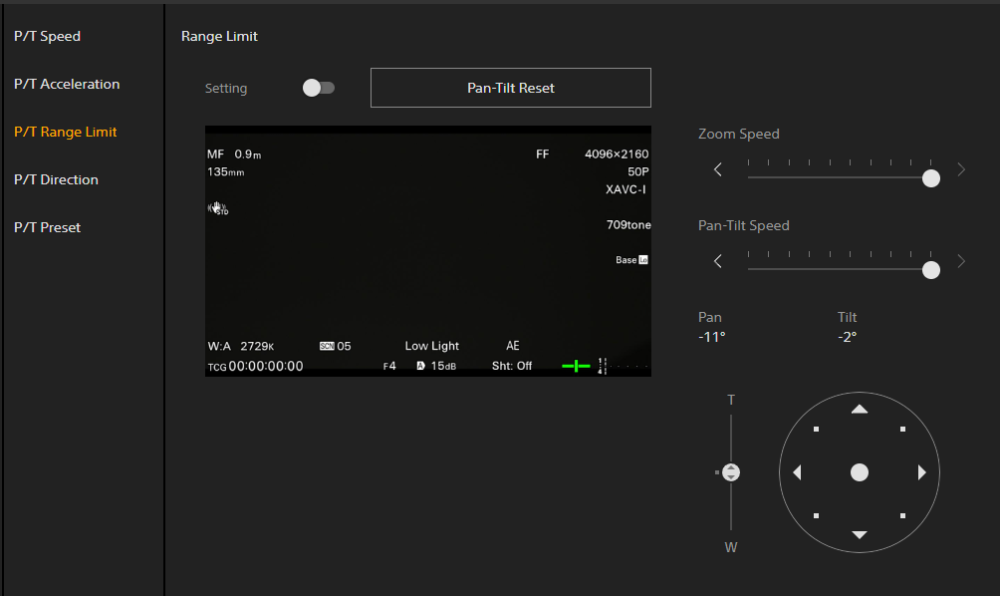
!Make sure, that the P/T direction settings are matching one of the two following settings:
![]()
FR7 in desktop mode.
! Depending on your FR7 settings you need to make sure that either “Desktop” or “Hanging” mode is chosen in SP is.
![]()
FR7 in hanging mode.
Joystick Calibration
!Because the FR7 has switchable lenses, you have to do for the zoom and focus joystick an initial calibration.
1. First you need to make sure that you did the freeD range for zoom and focus (see above).
2. Run the Joystick calibration for zoom and focus.
We have done a pre calibration for Pan and Tilt with the default values from the FR7.
*If you reduce the joystick range of the device, it´s easier for SP to drive the camera.
When the joystick behavior is reacting more linear it´s easier for SP to drive efficient.
!When you change any P/T joystick behaviors on your device, please make sure to create a new joystick calibration for PAN
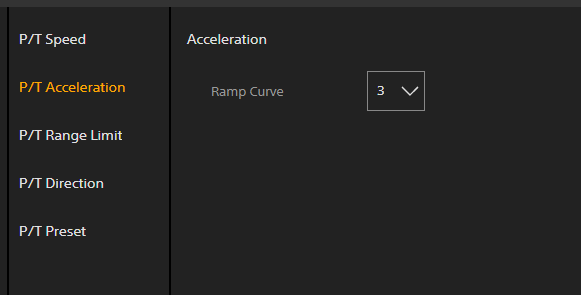
The pre calibrated default settings for the FR7 are these:
![]()
![]()
![]()
