
The Reposition from Marker Tool is used to reposition a camera based on a predefined markers in 3D space instead of patterns on a screen. This tool can be used on a camera with a tracking system as well as static camera with no tracking system.
Prerequisites
- A camera object within SP
- A Lens Profile for the camera
- Media Input into SP
Optional
Adding Markers
- Add a Measurement Point from the object tree, and place this point at the coordinate that matches the coordinate of a physical marker in the physical world.
- Repeat this process for all of your measurement points.
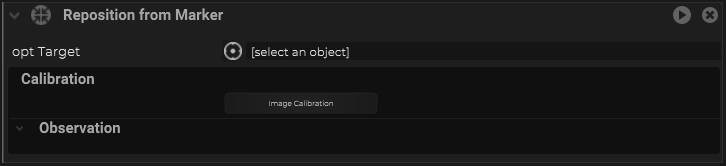
Adding the Alignment with Marker Tool
Once everything has been setup and the camera object is linked properly to the incoming data, the Lens Calibration process can begin.
Go to the camera object, and under the Tools tab, add a new tool under the Calibration folder. Depending on the different situation, a different tool can be used. For more information, click here.
Workflow
- Using a camera with a linked Lens Profile
- If there is a tracking system, linked cooresponding Alignment Profile under the camera profile and a tracking system mapped as a Map Input
- Move the camera to a location within the tracking region, and rotate the camera so that the mulitple of the reference points can be seen by the camera
- capture an image as observation.
- click on the “Observations” button to open up the side panel to show all the captured observations.
- Double click on one of the observations to view the captured image.
- Press “F” on the keyboard will rescale the image to be full screen within the wizard UI
- Right click on the image where the measurement point is located to add a marker; a pop up list would show all the measurement points in the SP project, select from that list the measurement point that matches the location of the selected marker. Repeat this step for all of the markers visible in this image
- Press “ALT+(1-9)” to zoom in and cycle thru each of the markers added in the previous step.
- using the keyboard arrow keys to move the marker around to get to the exact pixel within the image of where the marker is located. You can hold down “SHIFT” while using the arrow keys for fine adjustments.
- Pressing “F” can go back to full screen view of the image.
- After finishing adjusting all markers location, press the “close viewer” button at the top right to close this observation, and go back to the previous view.
- Run the calibration