
With the Late Tick Calculation it´s possible to optimize the latency between input data, SP calculation and output data to a minimum.

To open the Time Inspector follow this steps.

Enable/Disable the Late Tick calculation.

Shift the SP calculation within a single frame.
Normal behavior
By default incoming data packages can be received everywhere within one frame.
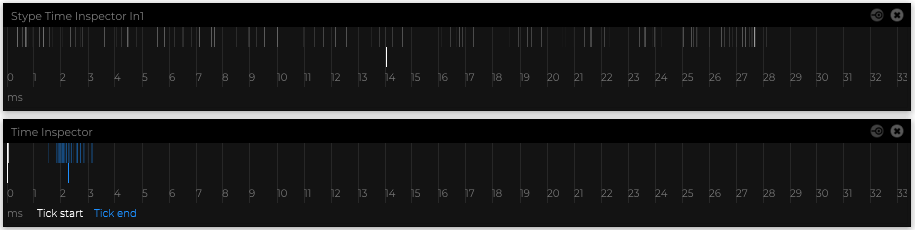
Let say the project is running on 30fps, means data packages can be received from 0ms until 33,33ms without any issues.
This is totally fine, also if the SP process needs a few milliseconds, as long no blue drop frame indicators are visible.
Optimal behavior (typical for genlocked tracking system)
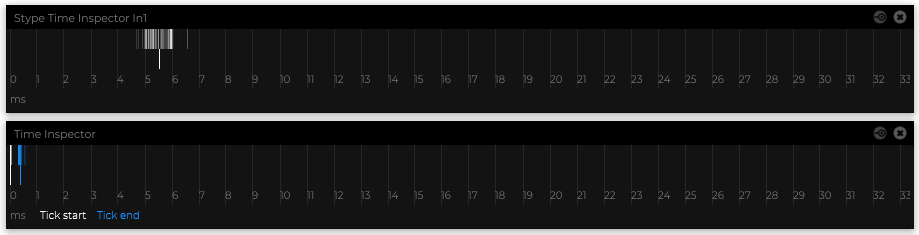
A genlocked tracking system will be looked similar like this.
So the data packages are closer to each other.
Default Latency behavior
By default the option Late Tick Calculation is disabled.
This means that the SP calculation starts at 0ms per frame.
All incoming data packages within the same frame will be calculated.
All outgoing data packages will be sendet with the next tick,
means at the beginning of the next frame.
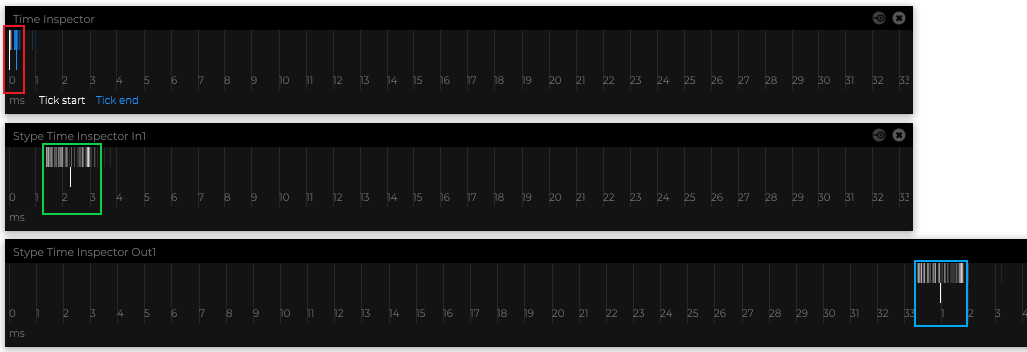
SP tick at 0ms. (red)
Tracking input arround 2ms. (green)
Output at 0ms at the next frame. (blue)
Means one frame of latency in this example.
Low Latency behavior
By enabling the Late Tick Calculation it´s possible to shift the SP tick within a single frame.
The parameter to define the “tick location” called Margin.
With this method it´s possible to shift the SP tick behind the incoming data packages.
Additional it´s possible to shift the output protocol packages into the same frame. See here.
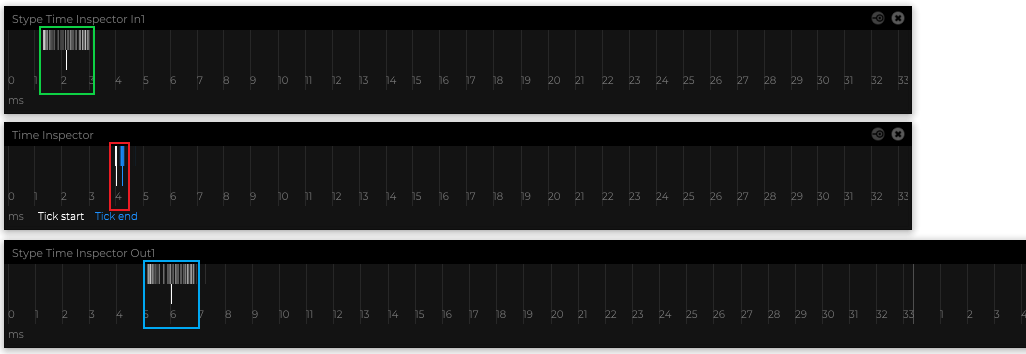
First comes the incoming tracking data at around 2ms. (green)
Followed by the SP tick at around 4ms. (red)
And the output protocol is shifted into the same frame at around 6ms. (blue)
In this case SP is technically generating not a single frame of latency,
this means expressed in ms are we talking in this example at around 4ms.