
The UST-10LX is a 2D LiDAR sensor.
For details on how to use this object to do blob tracking please refer to this page.
Add the Sensor
To add a connection to a UST-10LX, open the Object Tree and add the UST-10LX under the category “Sensors”.

The Sensor Object appears now in the Object Tree.
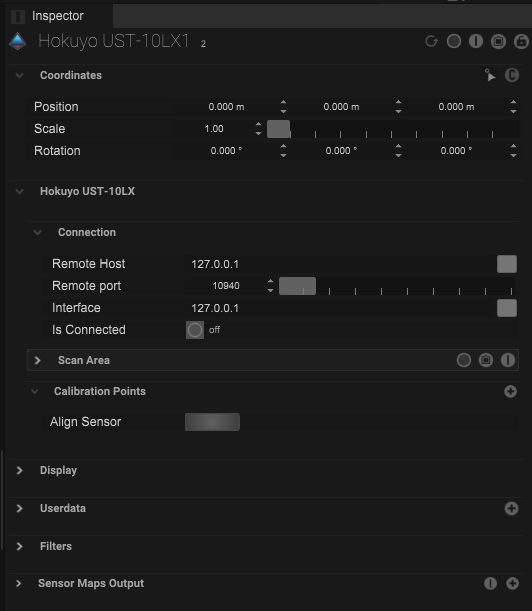
All settings to configurate the Sensor are in the Inspector.
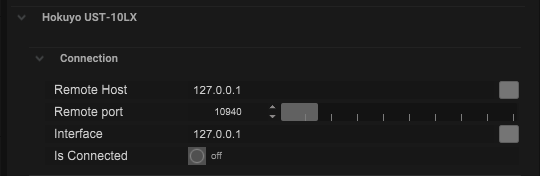
First define the IP-Configurations.

If the Sensor is connected it appears green in the object tree and the status of “Is Connected” changes to “on”.
Setup the Scan Area

In the Viewport is now a spline and a rectangle.
The spline represent a “Scan Outline”.
The rectangle is the “Tracking Area”

Within this options the Tracking Area can be defined.

Allign the Sensor
To allign the Sensor it´s necessary that the Sensor detect at least three known objects / corners.

Add a calibration point with a click on the (+).
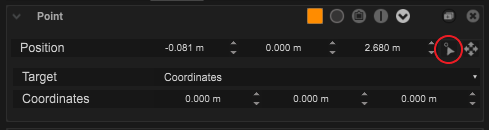
With a click on this icon it´s possible to select points on the spline within the viewport.

The three orange points on the spline are calibration points.
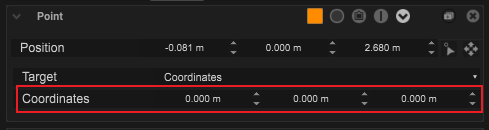
By changing the “Target” to “Coordinates” the location values of each points needs to be defined to the known values.
It´s also possible to use Measurement Points.

Place the Measurement Points to the known location values.

Change the Target type to “Target” and select for each Calibration Point one Measurement Point.

Before the calibration.

After the calibration.
Use the Sensor for Tracking
To use / detect tracking data from the Sensor a Volume object is necessary.

Add a Volume in the Object Tree.

Within the Volume a Map Input needs to be defined

The UST-10LX delivered “Point Data”
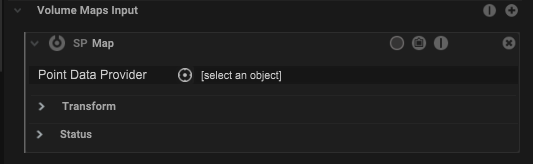
Select a UST-10LX with a click on the target field.


The tracking points from the Sensor will be now shown.