- You need to install Steam and SteamVR on the same computer like Stage Precision is installed.
- For each Vive Tracker you need a Vive USB Dongle attached to your computer.
- After SteamVR is installed, go to the following path:
„/steamapps/common/SteamVR/drivers/null/resources/settings/“
Open these file with a text editor: „default.vrsetting“
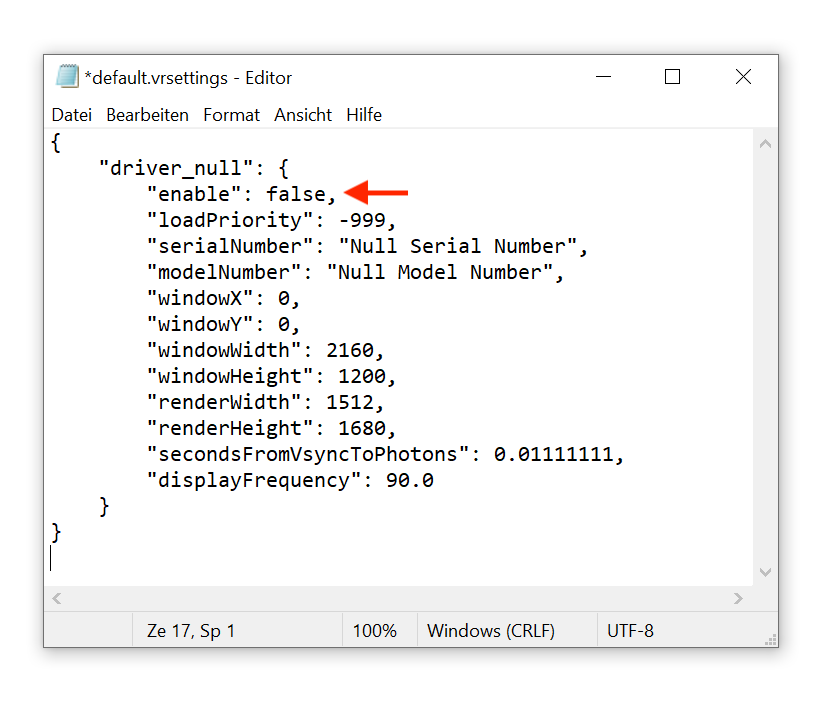
- Search for „enable“ and change the word „false“ to „true“.
There should now be the following:
“enable“: true,
- Store and close this file.
- Go to the following path:
„/steamapps/common/SteamVR/resources/settings/“
Open these file with a text editor: „default.vrsetting“.
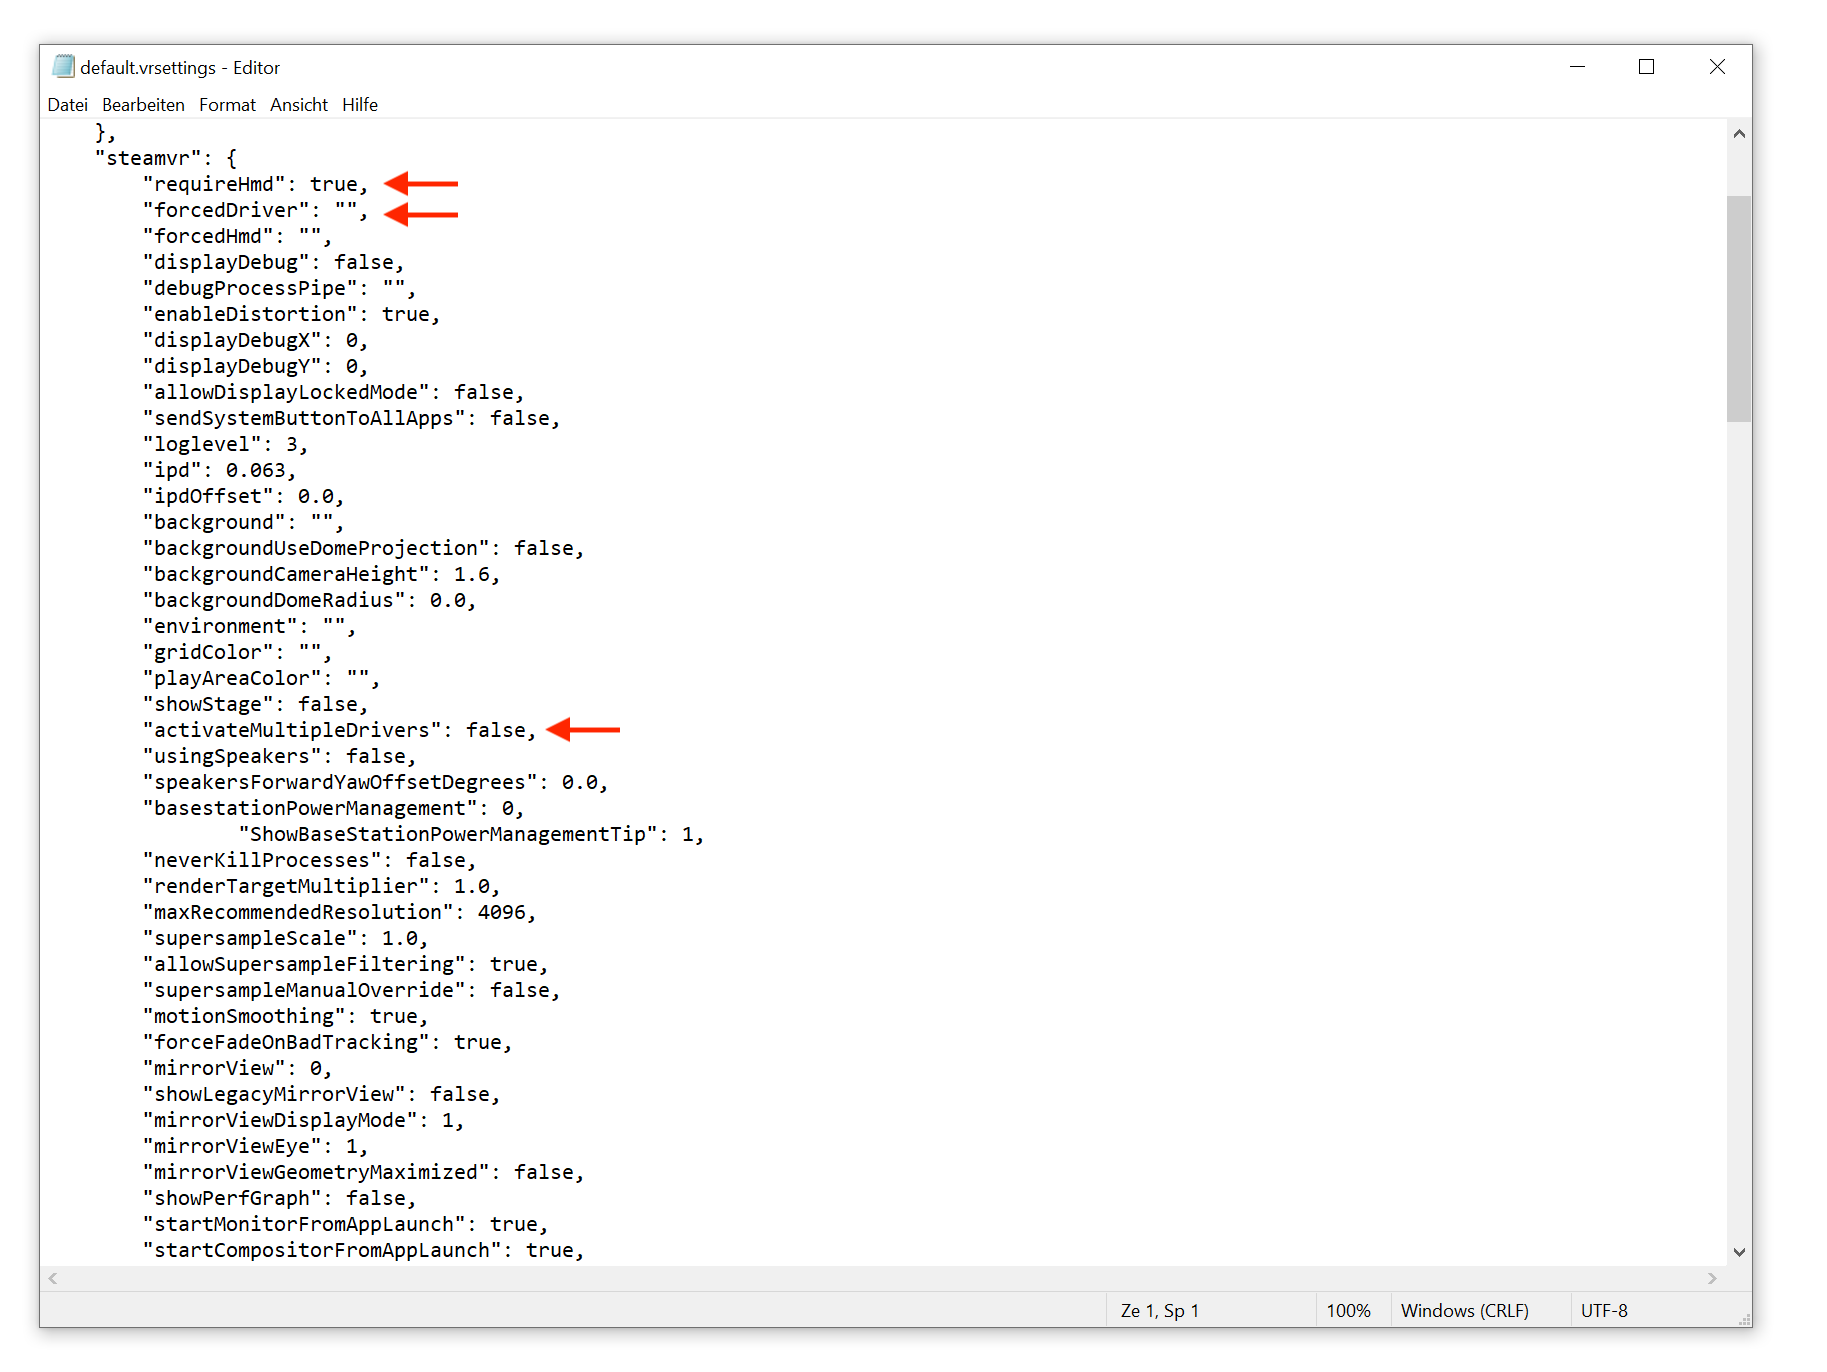
- Search for „requireHMD“ and set the value to „false“.
There should now be the following:
“requireHMD“: false,
- Search for „forcedDriver“ and set the value to „null“.
There should now be the following:
“forcedDriver“: “null”,
- Search for „activateMultipleDrivers“ and set the value to „true“.
There should now be the following:
“activateMultipleDrivers“: true,
- Store and close this file.
- Restart Steam and SteamVR.
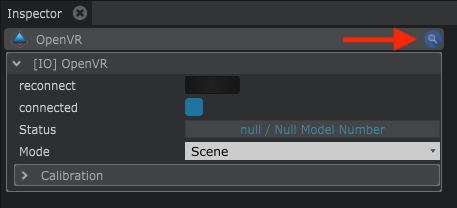
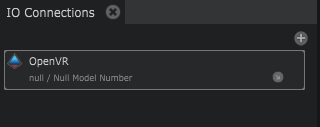
- Start Stage Precision and add a OpenVR IO.
You should now be connected with the Vive data stream.
- You can now add the tracker by clicking on the blue magnifying glass.